Stainless Steel Brake Job
Many old cars with original brake systems only have a single-circuit brake system. On such cars, the master cylinder has only one chamber, and if a brake line should blow, hydraulic pressure is completely lost, and the driver has nothing but the emergency brake to prevent disaster.
Yesterday, I was driving my 1988 Chevy parts-hauling pickup when a man approaching an intersection from my left “blew” a stop sign. I slammed on my brakes and felt the pedal give way under my foot. A rust spot in one brake line popped, but luckily, the pickup has a dual-circuit braking system, so there was enough time to bring it to a halt on the front disc brakes.
Many old cars with original brake systems only have a single-circuit brake system, unlike my truck. On such cars, the master cylinder has only one chamber, and if a brake line should blow, hydraulic pressure is completely lost, and the driver has nothing but the emergency brake to prevent disaster.
For safety’s sake, a few hobbyists have converted the original single-circuit brake system on their vintage vehicle to a dual-circuit system. Unfortunately, a car’s originality is lost when this conversion is performed. But there is something that can be done: Line a master cylinder and wheel cylinders with stainless steel and employ stainless-steel brake lines.
With a stainless-steel brake system, a hydraulic brake system can look stock without worries of rust or internal degradation of cylinder bores and parts. An old car with stainless-steel brake components will hold up better in both road use and storage. The rebuilt system will last much longer than average steel components, but users may still want to conduct fluid flushes and check for parts wear on a periodic basis.
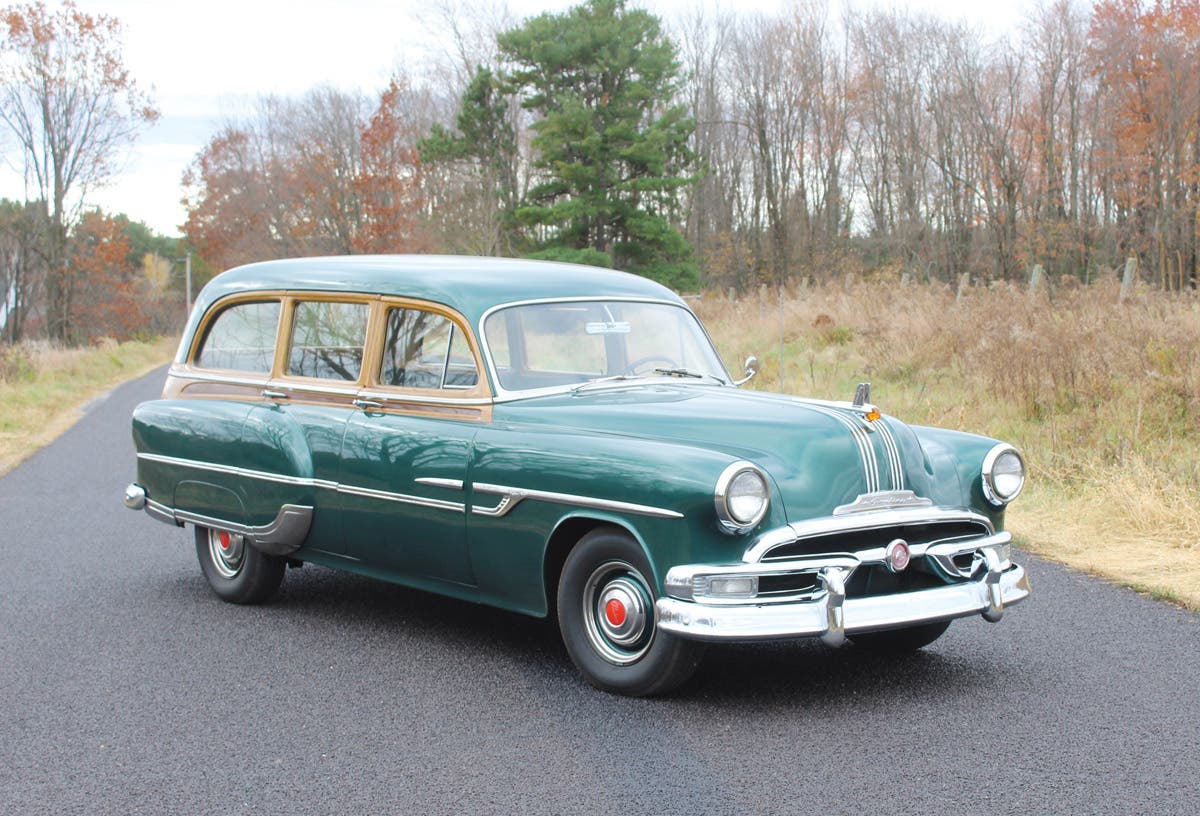
Prices of stainless-steel brake line kits vary. For a recent project involving a 1953 Pontiac, the cost was $179. Considering the advantages of stainless-steel brake lines, you’ll probably save that much in repair and maintenance costs by not requiring more frequent brake maintenance.
The Pontiac brake line set came from Classic Tube and contained five lines matching the description in a 1955 Pontiac Master Parts Catalog. However, it did not match the arrangement on the car, because the last shop that worked on the car installed six brake lines. This meant that, after the stainless lines were installed, the car was more original than it had been before.
For re-sleeving operations, the master cylinder and wheel cylinders were sent to Brake & Equipment Warehouse in Minneapolis. In addition to re-sleeving parts, Brake & Equipment Warehouse can supply everything from rebuild kits to hoses. When some snags arose, they provided personalized technical service. In addition, they offered a car club discount that saved money.
When doing a conversion to stainless-steel brakes, you may run into modifications made by dreaded previous owners or shops that did work for them. As it turned out, the 1953 Pontiac’s brakes had been repaired by a shop that installed a right-hand-side rear wheel cylinder on the left side. Apparently, the installer also bent a new brake line to fit the wrong cylinder. Since the new stainless lines were pre-bent to factory specs, things didn’t bolt up, and another cylinder had to be re-sleeved. This added about $40 to the total cost of the repairs. This lesson taught me to check part numbers before sending them to be re-sleeved. Having the right parts the first time saves money and gets the job done quicker.
While waiting for the stainless steel brake lines to arrive, take photos or make sketches of how the brake lines are routed. Of particular importance is understanding exactly how the front brake lines run along the frame and bolt up to the master cylinder. Even when a person is careful to use a good penetrating oil and a six-point flare wrench, old brake lines can be a bear to remove. When taking them apart, there’s a good chance that some will twist or break off. Without photos or a drawing, working out the proper routings can be very difficult. In a worst-case scenario, those expensive new stainless steel lines could be bent or kinked by improper installation.
When the new brake lines arrive, any long lines will have “shipping bends” that allow them to fit in the box. These must be carefully unbent to the proper shape. On the Pontiac project, professional mechanic Vince Sauberlich carefully bent the lines very slowly over his knee. A special bending tool can also be used.
On the Pontiac project, the front brake lines snapped off at the bracket where they met the brake hose fittings. Large U-shaped clips are use to support these joints, and they were saved or replaced with new ones. The brake hoses had to be replaced, and my local NAPA had a listing for these, but they were too long and had different fittings. I eventually found some nice NORS Lockheed hoses on the internet, and they worked perfectly.
While you might think the longest brake line — the one that runs from the master cylinder to the rear wheel opening — would be the hardest to snake into position, this wasn’t the case on the Pontiac. The line that ran across the front, from left to right, was so hard to get into position that we thought it might have a wrong bend, but it didn’t. The trick was dropping the steering idler arm, which provided the room we needed to swing the line across the car. It fit perfectly then.
Four lines ran into a brass fitting at the front of the master cylinder. Figuring out how to hook these up was another puzzle. Luckily, a photo of the original hook-up had been snapped, and it pointed out the proper arrangement.
The longest line was relatively easy to route. Unfortunately, a few of the original clips that fastened it to the frame had come apart while removing the original line. Such clips are available from Restoration & Supplies in Pennsylvania, but none had been ordered, so plastic electrical ties were used temporarily to hold the new brake line firmly against the frame. These can be replaced with the correct clips later on, but at least the lines are secure.
The lines on the rear axle were relatively easy to route and hook up. Brake & Equipment Warehouse supplied a modern replacement for the single OEM rear brake hose, and it worked perfectly.
To make brake parts look clean, spray or brush-paint backing plates and axle housings with Eastwood’s Rust Encapsulator or POR-15. To paint the brake drums, give them a good going-over with a wire brush and spray on Eastwood Brake Drum Paint.
After the brake lines are installed, go over the whole system and check the tightness of all fittings. Finish the brake job as described in the factory shop manual or aftermarket repair manual. Install the shoes, hardware, wheel bearings, and drums per the instructions for your application, and don’t forget to hook up the emergency brake.
After filling the system with brake fluid, bleed the air out, following a manual’s directions. The ‘53 Pontiac had a hard-to-bleed brake system, which may have been due to the fact that the master cylinder is mounted under the floorboards.
To adjust most brakes, insert a bent screwdriver or a brake-adjusting tool to engage the star wheel and turn the brake-adjusting screw. Moving the outer end of the tool upward pushes the star wheel down and expands the brake shoes closer to the drum. Move the shoes in this directin until you reach the adjustment described in your factory service manual, usually “very slight drag.” Some will read “adjust until drum can just be turned by hand, then back off ‘x’ many notches.” (A notch is one star wheel tooth and usually a click will be heard).
After adjusting all four brakes, lower the car, re-tighten the lug nuts, and top off the master cylinder, if necessary. Road test the car. If it pulls to one side, more adjusting is necessary. If it stops smoothly and in a straight line, you’re done. Plan on readjustments in a couple of weeks, after the car has some miles put on it.
Sources:
Brake Re-sleeving
Brake & Equipment Warehouse *
455 Harrison St N.E.
Minneapolis, MN 55413
612 378 3141
www.brakeplace.com
Apple Hydraulics
1610 Middle Road
Calverton, NY 11933
631 369 9515
www.applehydraulics.com
White Post Restorations
One Old Car Dr.
White Post, VA 22663
540 837 1140
www.whitepost.com
Brake Tech Solutions
10806 Reames Road
Charlotte, NC 28269
704 509 9210
www.braketechsolutions.com
Sierra Specialty Automotive
3494 Chandler Road
Quincy, CA 95971
800-4-BRASS-1
www.brakecylinder.com
Pre-Bent Stainless Brake Lines
Classic Tube *
80 Rotech Drive
Lancaster, NY 14086
1 800 882 3711
www.classictube.com
Inline Tube
15066 Technology Drive
Shelby Township, MI 48315
856 532 1338
www.inlinetube.com
Stainless Steel Brakes Corp.
11470 Main St.
Clarence, NY 14031
800 448 7722
www.ssbrakes.com
Chassis Refinishing Products
The Eastwood Company *
263 Shoemaker Road
Pottstown, PA 19464
610 323 2200
www.eastwoodco.com
Restomotive Laboratories
POR-15
PO Box 1235
Morristown, NJ 07962-1235
973 887 1999
www.por-15.com
*Our sources for this project are marked with an asterisk
If you like stories like these and other classic car features, check out Old Cars magazine. CLICK HERE to subscribe.
Want a taste of Old Cars magazine first? Sign up for our weekly e-newsletter and get a FREE complimentary digital issue download of our print magazine.


