Engine detailing & painting 101
Helpful tips on how to make your engine shine like the jewel it is!
If you work slowly and carefully, you can do a nice job of detailing your collector car's engine when it is removed from the vehicle. Detailing involves cleaning the engine, painting it, renewing stickers and decals, freshening accessory parts, and giving belts and hoses a looks-like-new appearance.
Lifts are a welcomed plus. It is easier getting to body fasteners when the vehicle is off the ground. It can be done the old fashioned way but your back and joints will thank you if you have an available lift.
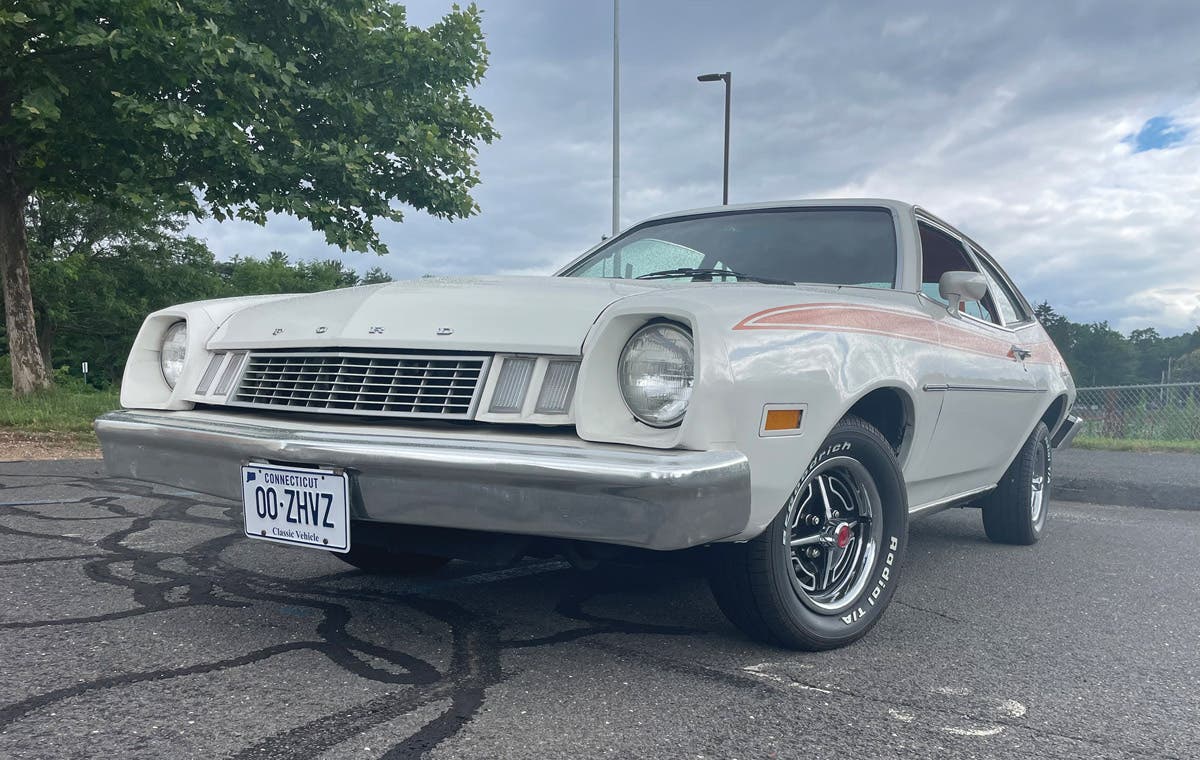
When I yanked the engine from my 1936 Pontiac to rebuild it, I decided to paint and detail it. On these cars, the shop manual recommends that all front-end sheet metal be removed as one unit to extract the motor. This was fairly simple ' just remove the nuts that bolt the front engine mount to the frame, and then about a dozen bolts that attach the front fenders to the running boards.
I wrapped a nylon tow strap around the front-end assembly and used my old-fashioned, beam-type engine hoist to lift it and move it around. I then placed the front-end sheet metal on a four-post Backyard Buddy lift to raise it so I could touch up the under sides of the fenders and inner fender aprons. Then we used the hoist to take out the engine.
The engine went to Dave Sarna to be rebuilt, and following the work, the engine was painted with a dark green engine paint purchased from Eastwood. Tower Paint and Bill Hirsch also sell authentic engine paint for this application.
The exhaust manifold was finished with Eastwood's Factory Gray High-Temp coating. The intake was painted the same green as the engine. The engine sat around awhile and some rust came up through the paint on the head. This was touched up, but the color match was difficult. A primer may have helped.
To detail an engine in or out of a car, you need light. You must be able to see the parts that are greasy and dirty in order to clean them, so use a flashlight or a trouble lamp to take a good look. When using a trouble lamp, be certain there are no fuel leaks. A shop in my area recently burned when a trouble light ignited leaking gas. When working around carburetors, a flashlight will provide the safest light.
Cleaning the engine
The first job in painting anything is to remove as much old paint, dirt, and grease as possible. Steam cleaning is an excellent way to clean an engine. If you lack a steamer, you can use a spray-on cleaner. For awhile, I was using a spray called Gunk Super Silver that was made for cleaning tools, but did a great job removing grease. Lately, I haven't been able to find this product. It's too bad; I would buy it by the case.
Some spray-on degreasers are soapy solutions that should be allowed to sit before they are washed off. Others are grease-cutters that are sprayed on and wiped off with a rag. Wear eye protection and rubber gloves when working with any chemical spray.
Newspapers, held on by masking tape, were used to protect the wires and hoses from overspray. The braided plug wires came from Kanter Auto Products and look cool.
A collection of brushes is handy for cleaning hard-to-reach areas. I keep my brushes in a tackle box. They include old toothbrushes, steel brushes of various shapes, a toilet bowl brush, scrub brushes, paint brushes, a barbeque grille brush ' even a $10 gun cleaning kit with long metal brushes that I can chuck in a drill. Brushes can get cleaning solutions into spots where hands won't fit.
Compressed air is a big help. It can be used to blow dirt out of nicks and crannies. Always wear goggles when blowing dirt out with compressed air.
To do a thorough job of cleaning an engine, remove the generator, starter, carburetor, exhaust manifold, and air cleaner. The number of accessories removed may depend on your technical skills, but always remove the air cleaner as it's difficult to do a good job of detailing an engine with it in place.
Painting the engine
When painting an engine, the spark plugs should be removed and replaced with old ones that can get over-spray on them. Plug wires should be removed, but they can also be taped or simply moved out of the way, though it won't supply the best results. If you remove them, tag them so they can be re-installed in the proper order.
No use ignoring the frame, since we had great access with the sheet metal off the car. The rails and cross members were coated with Eastwood's Rust Encapsulator and finished with its Chassis Black.
Use masking tape and newspaper to cover parts you don't want to paint. Always use high-quality masking tape that won't curl, stick, tear apart, or leave residue. Take your time cutting the newspaper to the right size and shape. Used properly, newspaper can save you a lot of tape expenses. It can also be used to wrap cables and engine accessories so paint doesn't get on them. Some parts should have overspray on them from the factory, so do your homework when it comes to determining how parts should be painted, and in what color.
In addition to painting your engine block and cylinder heads the right color, you will want to spray accessories like the starter, generator, and air cleaner. Today, you can get a wide variety of special paints, such as chassis black and engine gray to restore other under-hood components. Spray colors that duplicate aluminum, magnesium, copper, brass, and titanium are all available, too. If you plan to detail the radiator, there is a special "thin" black paint that withstands high temperatures without restricting airflow like thick paints do. Exhaust manifold paints are also available in several colors appropriate to your application.
If your engine still has its original stickers or decals and they are in good condition, you'll want to mask them off so they don't get painted over. In some cases, it is correct to paint over metal tags. In other cases, they can be sprayed, and then the finish can be removed with acetone. Many vendors sell reproduction engine stickers and decals to give air cleaners and valve covers the "factory" look. Catalogs and books are available to determine which decals your car should have.
The engine was painted dark green, and the block number and Pontiac Indian were highlighted with red. It's not strictly original, but it looks great. The new freeze plugs were left unpainted.
When it comes to belts and hoses ' as well as service parts, such as spark plugs, distributor caps, voltage regulators, and oil filters ' the best way to make them look new is to install new ones as part of a spring tune-up. However, if such parts are relatively new, you can still clean and detail them. A soft-bristle toothbrush to break up the dirt and a clean rag to wipe the parts off with do wonders.
A few hours spent detailing your collector car's engine in the spring is well worth the time and energy. It will make the car more show worthy and could also increase its performance. If you decide to sell the car, a painted and detailed engine could help swing the deal.
If you like stories like these and other classic car features, check out Old Cars magazine. CLICK HERE to subscribe.
Want a taste of Old Cars magazine first? Sign up for our weekly e-newsletter and get a FREE complimentary digital issue download of our print magazine.